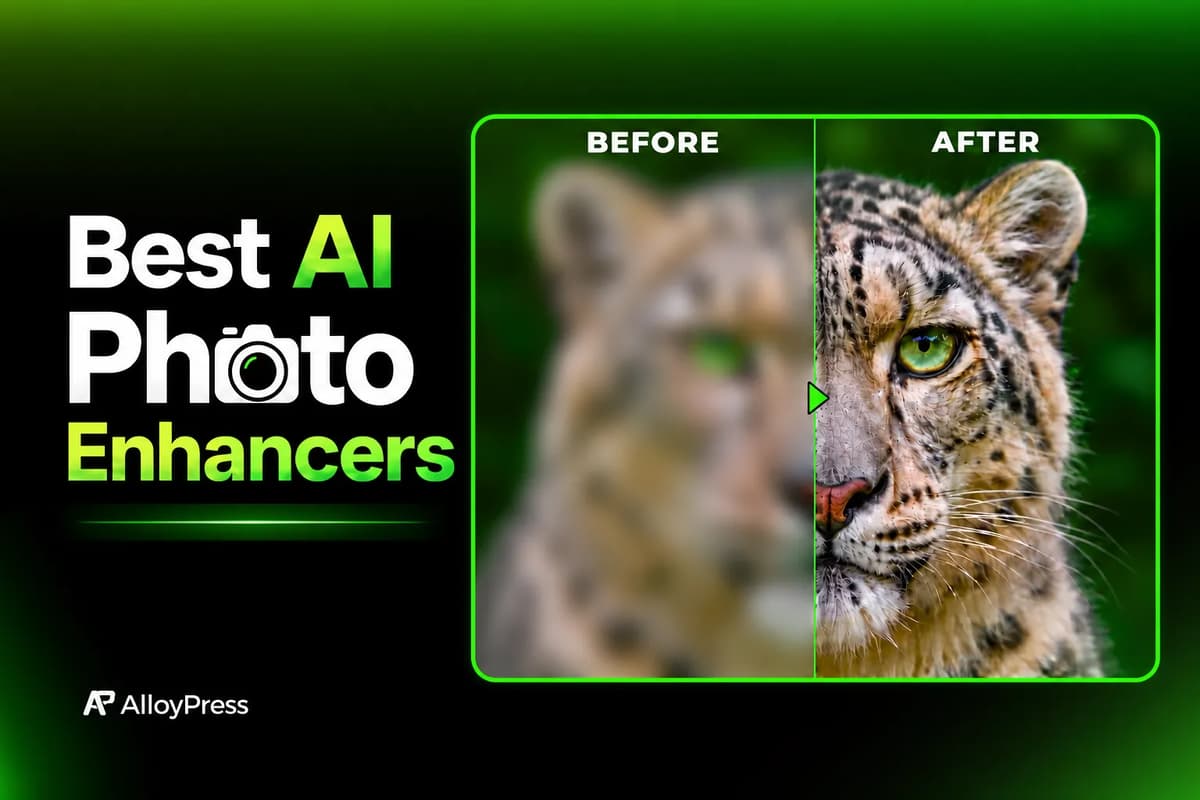
An image may look clear when it’s small but blurry when you make it bigger. We often face this with images for our blog and social media.
AI photo enhancers can help, but they may also change details or colours. We wanted to see which tools could make our image clearer while keeping it natural.
So, we tested five tools using the same blurry image: three AI assistants and two photo enhancers. Below, we share the actual results, what each tool improved and what went wrong.
Image Upscaling vs. Image Enhancement
Upscaling makes an image bigger. Enhancement makes it look better. Many tools do both in one step, but they are not the same thing.
What is image upscaling?
An AI image upscaler increases an image's pixel size and uses AI to guess the details as it enlarges it.
Example: a 2× upscaler turns a 500 × 500-pixel image into a 1000 × 1000-pixel image. It may look clearer, but the AI can't always recover details that were never there.
What is image enhancement?
An AI image enhancer improves how an image looks. It can reduce blur and noise, fix lighting and colours, and add sharpness, often without changing the image size.
Example: it can make a dark, grainy photo look brighter and cleaner, while the photo stays the same size.
The difference at a glance
Image upscaling | Image enhancement | |
|---|---|---|
What it does | Makes the image bigger | Makes the image clearer |
Use it when | The image is too small for where you need it | The image looks blurry, noisy or dull |
What changes | Pixel size, plus guessed detail | Sharpness, noise, lighting or colours |
Main risk | Bigger file, same blur | Changed or invented details |
We saw this difference clearly in our test. Manus's 8K setting made our image almost 7 times wider, but it stayed almost as blurry. Gemini made it only a little bigger but much clearer. Many AI image editors now offer both features in one place.
How We Tested the AI Photo Enhancers
We used the same blurry sample image for every tool. But not every tool works the same way, so we tested them in two ways:
Method | What we did | Tools |
|---|---|---|
Image only | Uploaded the image and used the tool's built-in enhance or upscale option. No prompt needed. | EzEnhancer AI, PicWish, Manus (built-in upscale) |
Image + prompt | Uploaded the image with our written prompt | Gemini, ChatGPT, Manus (second test) |
Tools that work with the image alone don't take a prompt, so we judged them only on clarity and how close they stayed to our original. Tools that used our prompt were also judged on how well they followed it.
We zoomed in on the face, paws and rock of every output and checked four things:
- Clarity: were the fur, whiskers, eyes, spots and rock texture sharper?
- Accuracy: did the colours, lighting, background and layout stay the same?
- Mistakes: did the tool invent details, add unnatural features or over-sharpen?
- Size: did the tool upscale the image or keep the original size?
We also noted how long each tool took and the size of each downloaded file.
Our Sample Image and Prompt
Sample image
We used ChatGPT to make a blurry photo of a snow leopard resting on a rock, with mountains and a pine branch behind it. If you want to make your own test images, see our list of the best AI image generators.
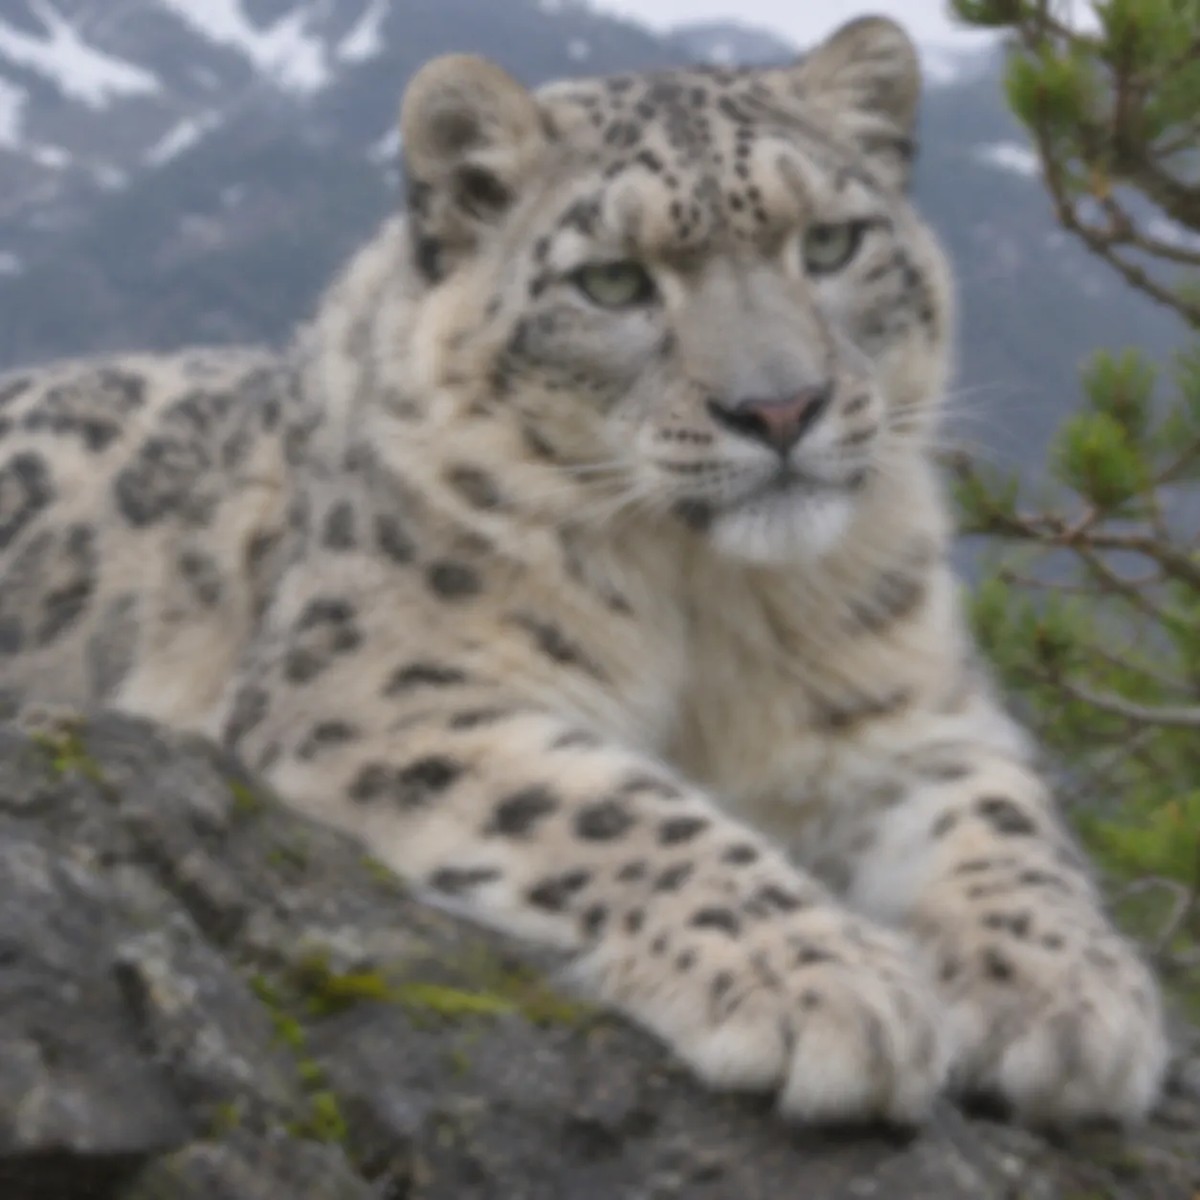
- Size: 1254 × 1254 pixels
- File size: 1.7 MB
Prompt
For the tools that take a prompt (Gemini, ChatGPT and Manus's second test), we wrote a strict one. We wanted a clearer version of the same photo, not a new image redrawn by AI. For more prompts like this, see our AI writing prompts for every task.
Quick Overview: Our Test Results
Gemini | Manus (2K upscale) | Manus (prompt) | EzEnhancer AI | PicWish (Ultra HD Max) | ChatGPT | |
|---|---|---|---|---|---|---|
Method | Image + prompt | Image only | Image + prompt | Image only | Image only | Image + prompt |
Output size | 2048 × 2048 | 2048 × 2048 | 1254 × 1254 | 1224 × 1224 | 1264 × 1264 | 1254 × 1254 |
File size | 8.76 MB | 6.42 MB | 3.63 MB | 2.2 MB | 3.1 MB | 1.97 MB |
Time taken | A few seconds | Not timed | About 2 minutes | Not timed | A few seconds | 54 seconds |
Upscaled? | Yes | Yes | No | No | No | No |
Watermark? | Yes | No | No | No | No | No |
Improved clarity | Very high | High | Very high | Very high | Very high | Low |
Kept original details | Mostly (small additions) | Yes | No | No | No | Yes |
Main problem | Small extra details, watermark | Higher settings didn't help | Slit pupils, changed colours | Swirl-like fur texture, slit pupils | Much darker, over-sharpened | Image still soft |
Overall result | Best | Good | Mixed | Good | Mixed | Weak |
Best AI Photo Enhancers We Tested
1. Gemini
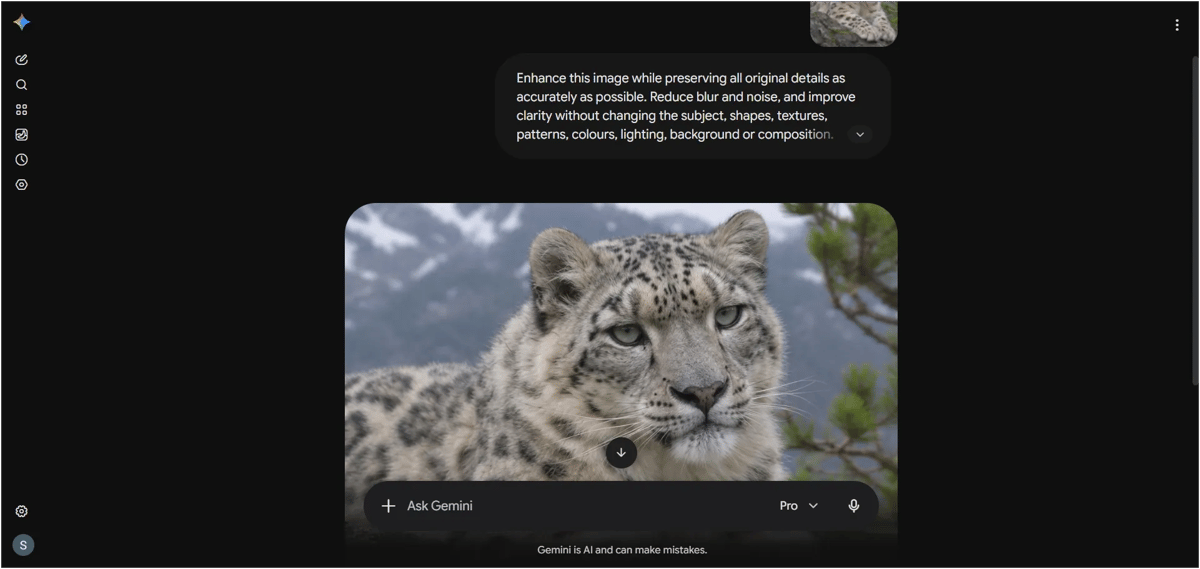
Gemini is Google's AI assistant, and it can create and edit images from a text prompt. We uploaded our sample with our prompt. The enhancement took just a few seconds, and the output was 8.76 MB at 2048 × 2048 pixels. So Gemini both upscaled and enhanced our image.
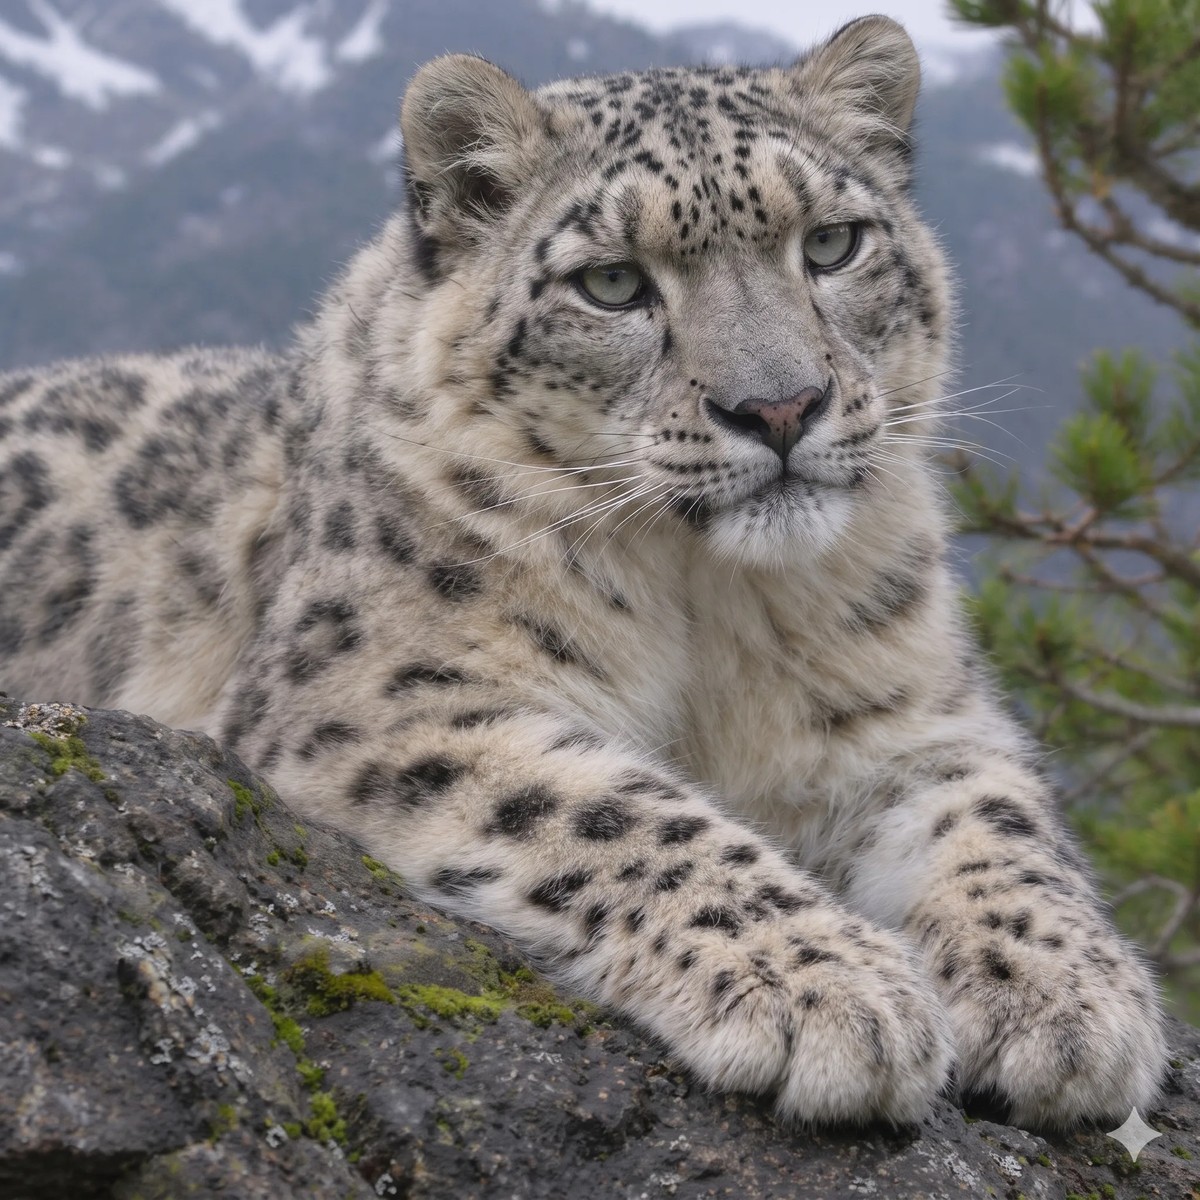
This was the best result in our test. We could see single hairs on the face and ears, clean white whiskers, clear eyes, fluffy paws and real texture on the rock. The pose, framing, spot patterns and grey-white fur colour all stayed close to our original.
When we zoomed in, we found a few small changes:
- New details: tiny dark freckles on the nose and pale speckles on the rock.
- Sharpening: some fur looked slightly over-sharpened.
- Whiskers: a few near the mouth turned dark instead of white.
- Watermark: a small Gemini logo appeared in the bottom-right corner. We had to crop it before using the image.
Most people won't notice these changes without zooming in.
Gemini pros and cons
Pros | Cons |
|---|---|
Sharpest, most detailed result in our test | Added a few small details we asked it not to |
Fastest tool, done in a few seconds | Some fur looked slightly over-sharpened |
Upscaled and enhanced in one step | Leaves a watermark you need to crop |
Kept the natural colours and layout | Free plan has limited image use |
Our tip: this is our first choice for blurry images. Check the corner for the watermark before you publish.
2. Manus
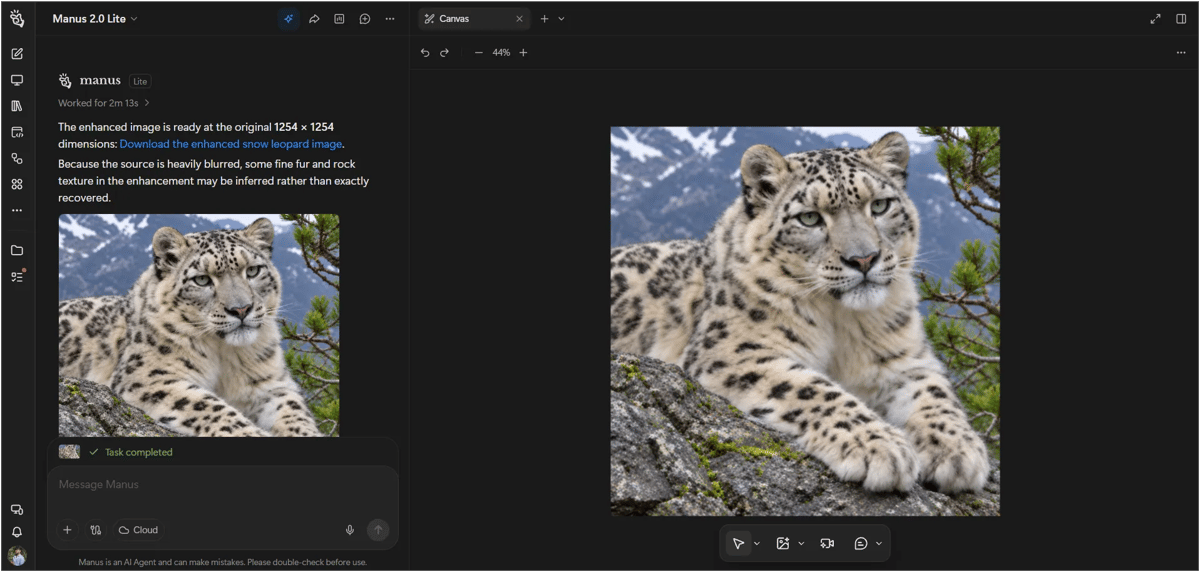
Manus gives free users 300 credits every day. We uploaded our sample image, and Manus showed a built-in upscale option right away. We tried that first, then tested it with our prompt. For everything else it can do, read our full Manus AI review.
Test 1: Built-in upscaling (2K, 4K and 8K)
Setting | Output size | File size | What we saw |
|---|---|---|---|
2K | 2048 × 2048 | 6.42 MB | Much clearer, natural detail |
4K | 4096 × 4096 | 21.8 MB | Only slightly sharper than the original |
8K | 8192 × 8192 | 83.8 MB | Almost as blurry as the original |
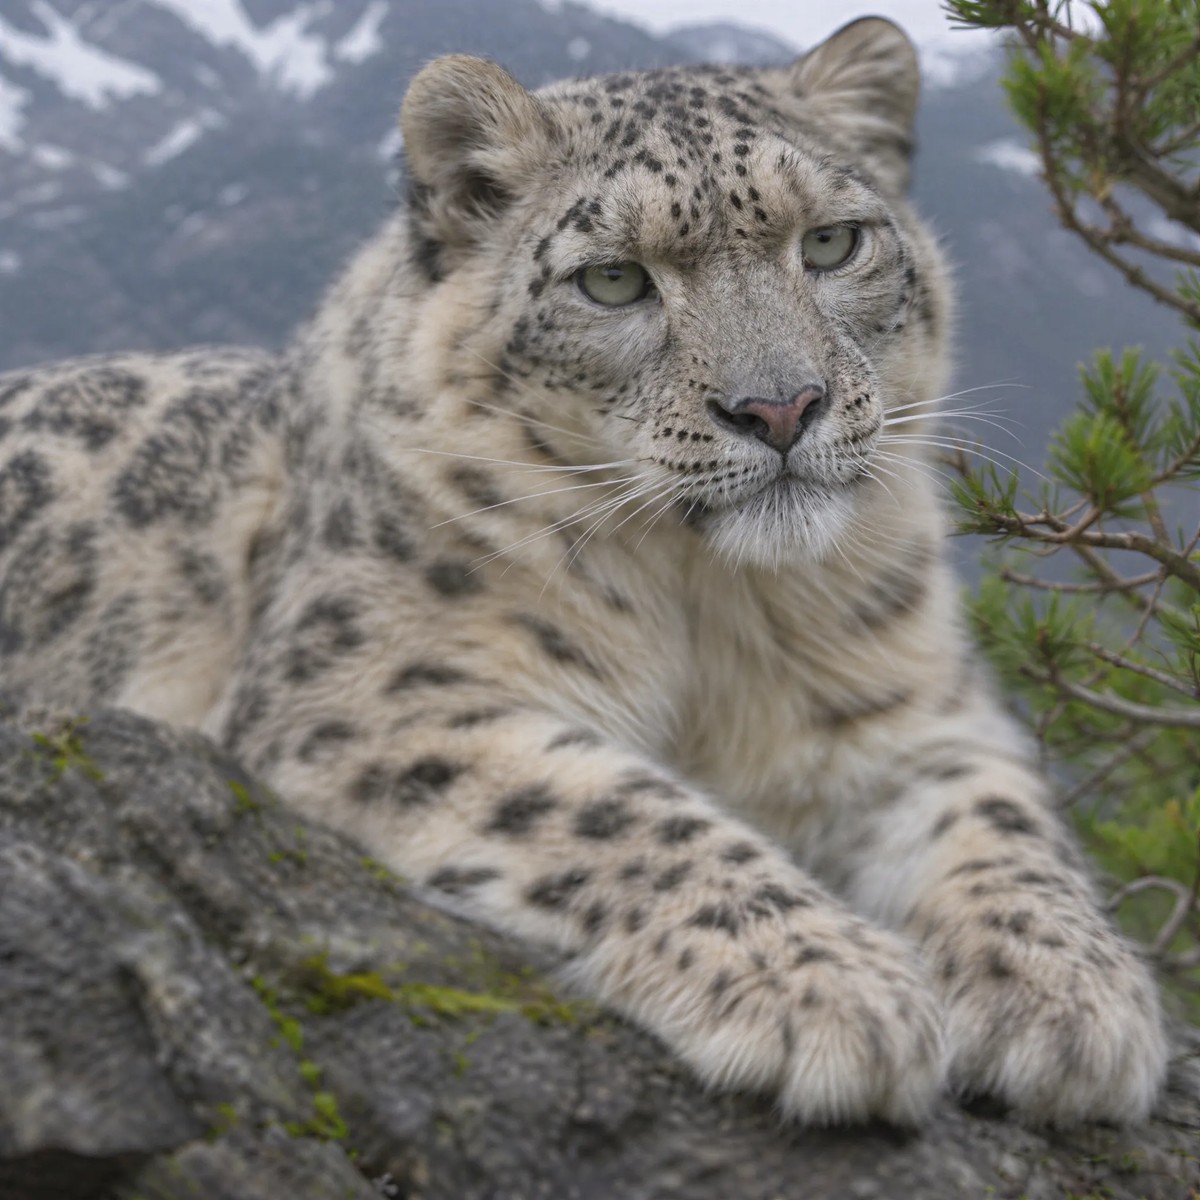
The 2K result surprised us. Most of the blur was gone. We could see single hairs on the face, clean whiskers, clear eyes and sharp spots, and the colours stayed true to our original.
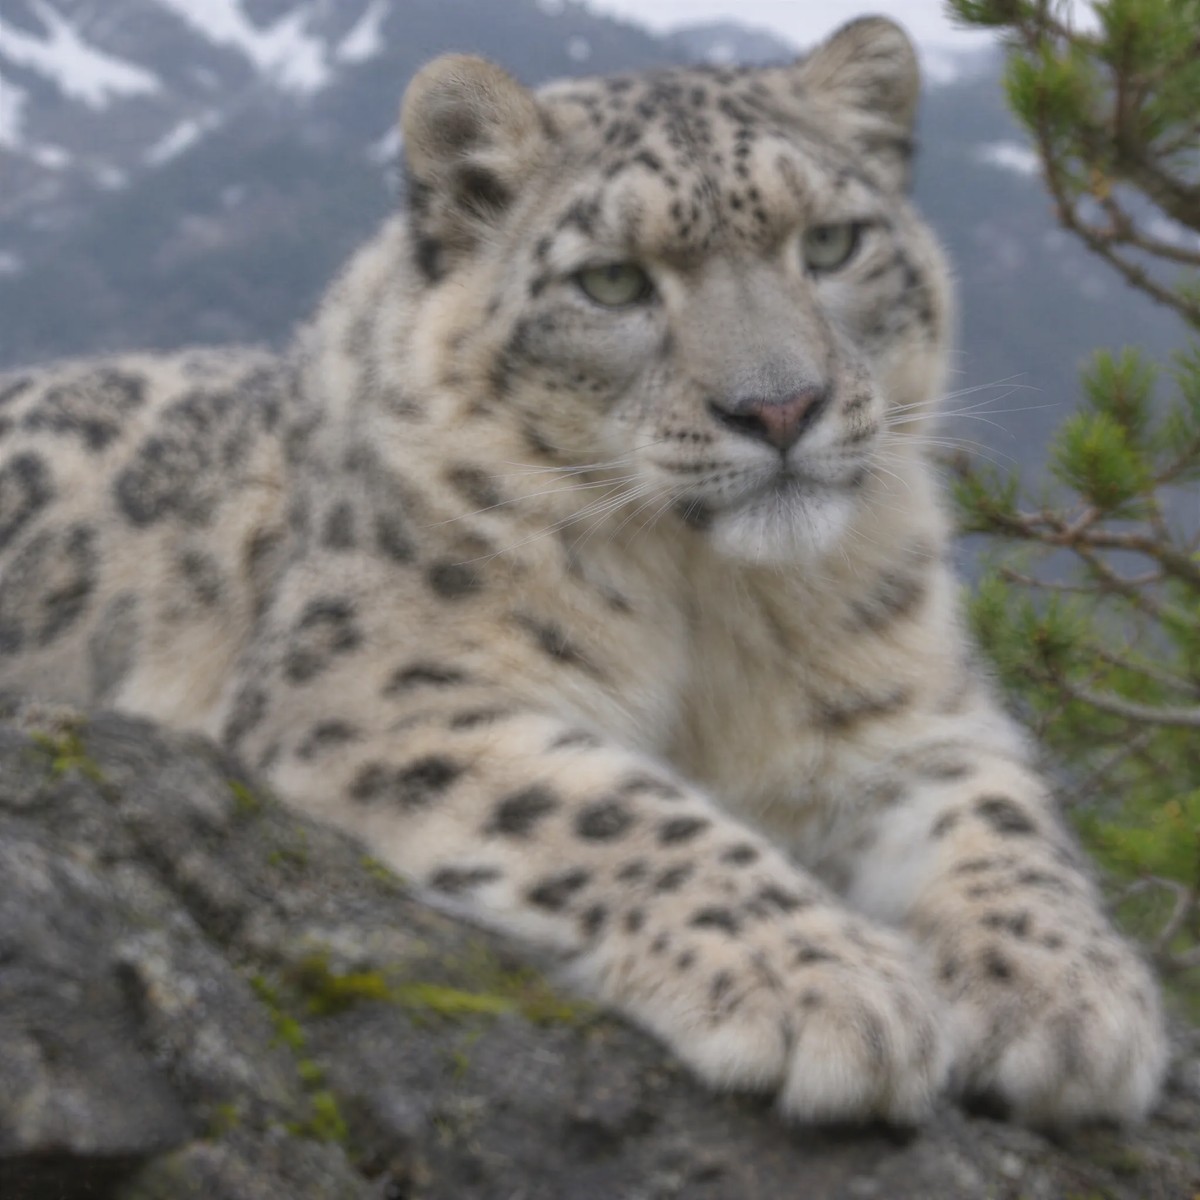
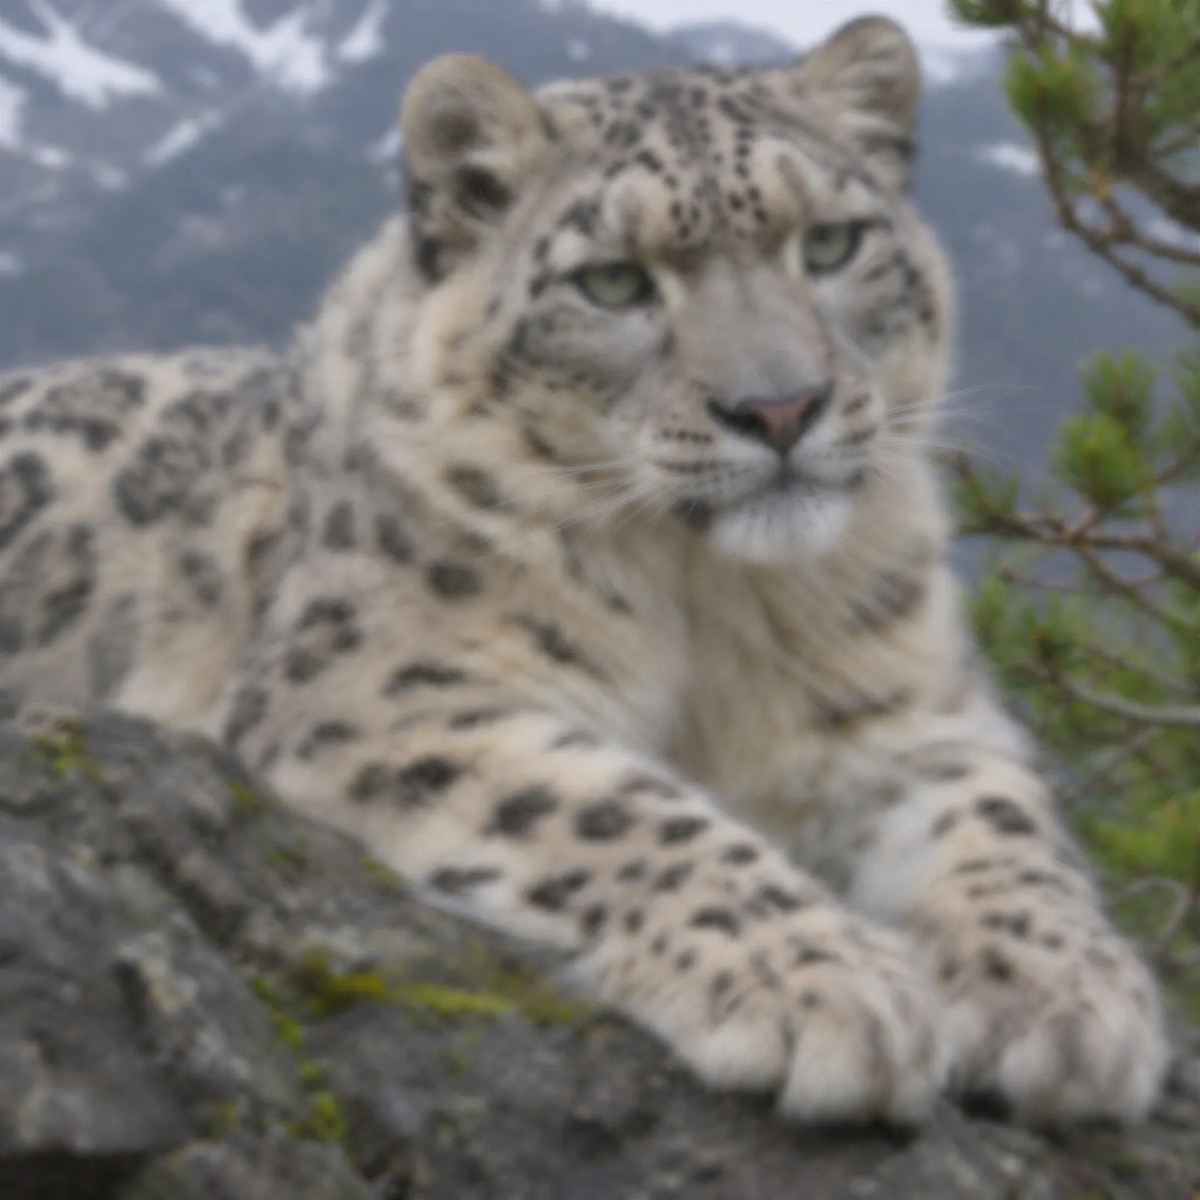
The 4K and 8K results were disappointing. The 8K file was about 50 times bigger than our original, but it looked almost as blurry. The higher settings added pixels, not detail.
Test 2: Enhancement with our prompt
Manus took about 2 minutes and returned a 3.63 MB image at the original 1254 × 1254 size, so it did not upscale.
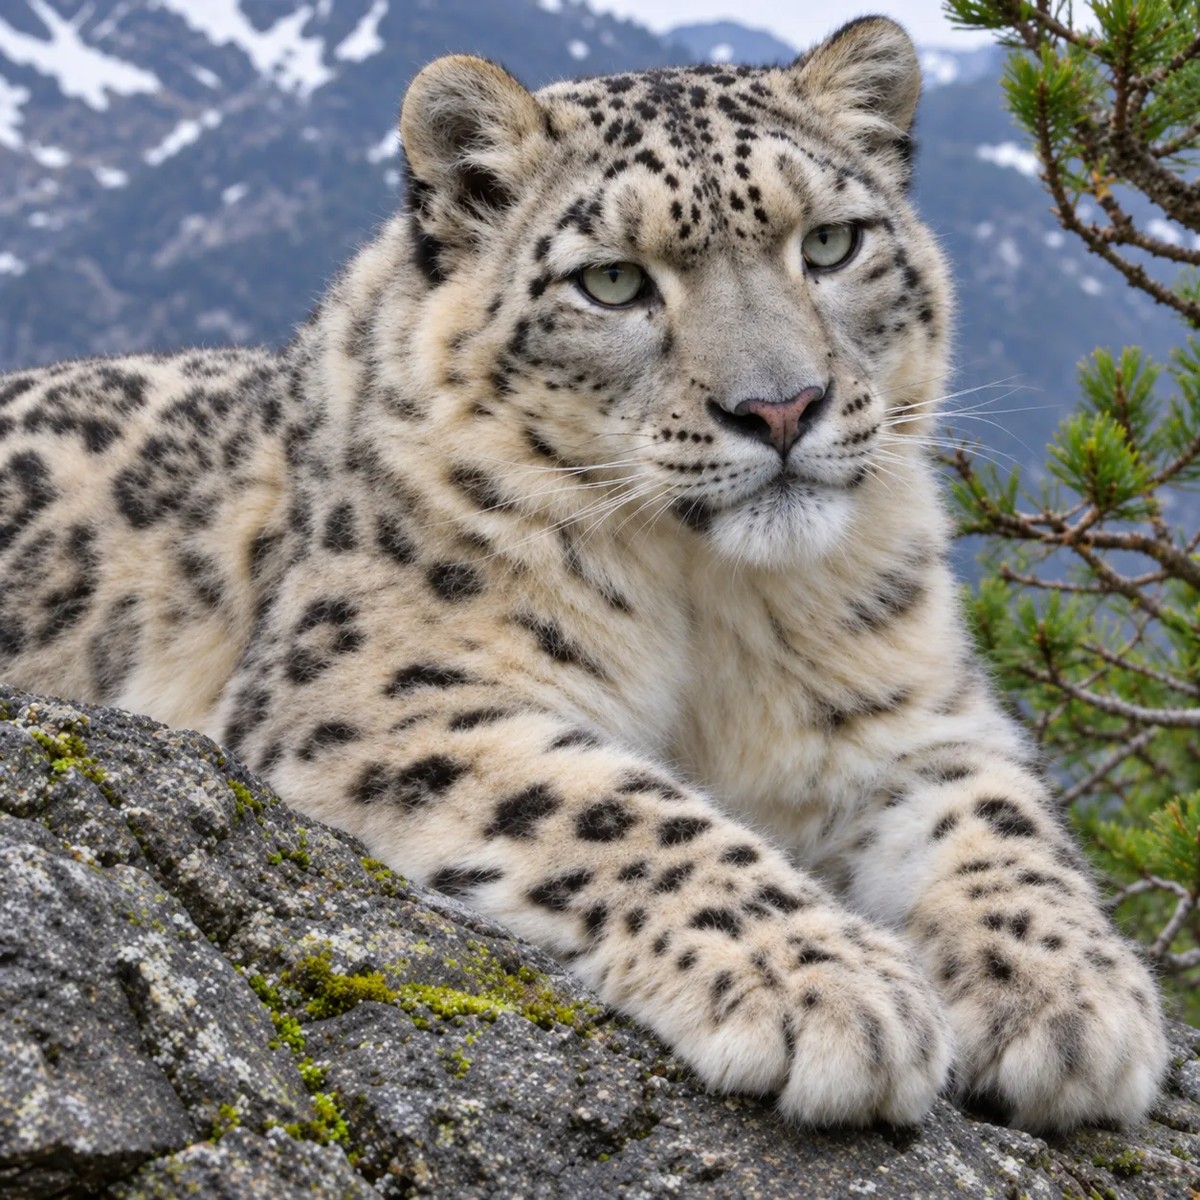
The output was very sharp, and the pose and framing matched our original. But Manus changed things our prompt asked it to keep:
- Colours: the image came out brighter and warmer.
- Spots: they became darker, with harder edges.
- Rock: it got new texture and lichen.
- Eyes: the biggest mistake. Manus gave the leopard thin, slit-shaped pupils like a house cat. Real snow leopards have round pupils.
To its credit, Manus warned us that some fur and rock texture "may be inferred rather than exactly recovered."
Manus pros and cons
Pros | Cons |
|---|---|
One-click upscale with 2K, 4K and 8K options | 4K and 8K added size, not detail |
2K upscale was clear and natural | The prompt result changed colours and lighting |
300 free credits every day | It invented details, including slit pupils |
Honest warning about guessed details | Slowest tool with a prompt (about 2 minutes) |
Our tip: choose 2K, not 8K. If you use a prompt, zoom in on the eyes before you use the image.
3. EzEnhancer AI
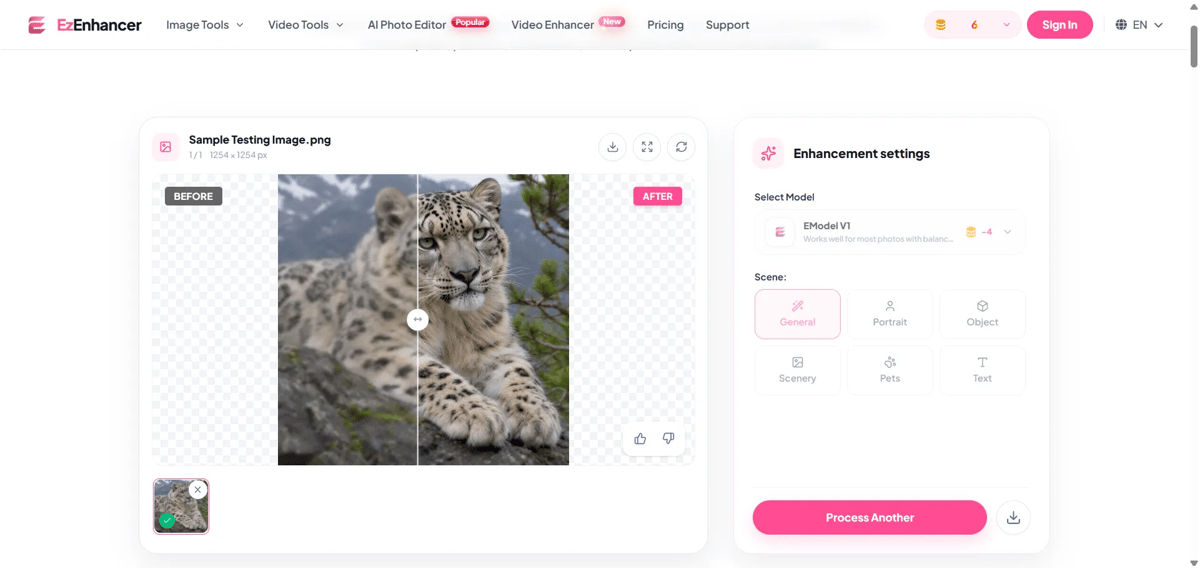
We started using EzEnhancer AI without signing up. We uploaded our sample image and got 10 free credits. Enhancing one image used 4 credits.
EzEnhancer doesn't need a prompt. Instead, its Scene setting asks what your image contains: people, objects, scenery, pets or text. You pick the closest match, or choose General if you're unsure, then click Enhance images.
We used EModel V1, which was free. The paid EModel Pro V2 costs 6 credits per image and claims to give better results.
Downloading was easy, with JPG, PNG and WebP options. Our image was 1224 × 1224 pixels and 2.2 MB, with no watermark. That's slightly smaller than our original, so EzEnhancer enhanced the image but did not upscale it.
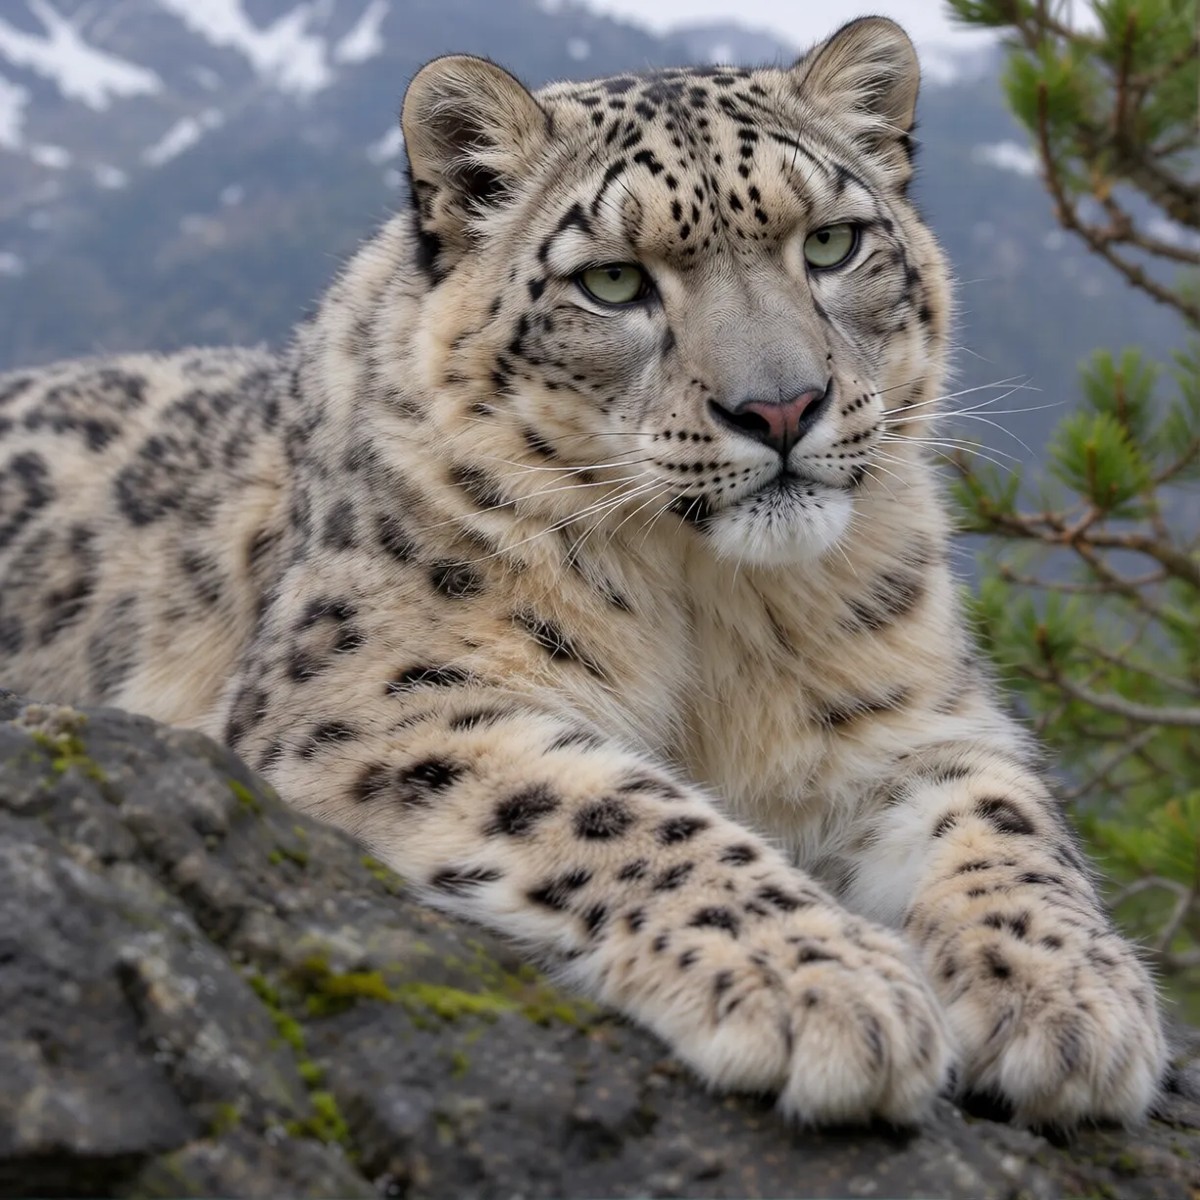
We liked the result. The image looked much clearer, with clean whiskers, sharp eyes and detailed paws. The difference from our blurry original was easy to see.
When we zoomed in, we noticed some AI changes:
- Colours: the fur turned slightly warmer and creamier.
- Spots: they became darker and bolder.
- Fur texture: the forehead and nose got swirly lines that look more like fingerprints than real fur.
- Eyes: the pupils became slit-shaped, like a house cat's. Real snow leopards have round pupils.
EzEnhancer AI pros and cons
Pros | Cons |
|---|---|
No sign-up needed to start | Fur colour turned slightly warmer |
10 free credits to try it | Added swirl-like texture to the face |
Scene setting helps it suit your image | Gave the leopard slit-shaped pupils |
No watermark, with JPG, PNG and WebP downloads | Output was slightly smaller than the original |
Our tip: a great free pick for a quick, clear result. Choose the right Scene setting, and zoom in on faces before you use the image.
4. PicWish
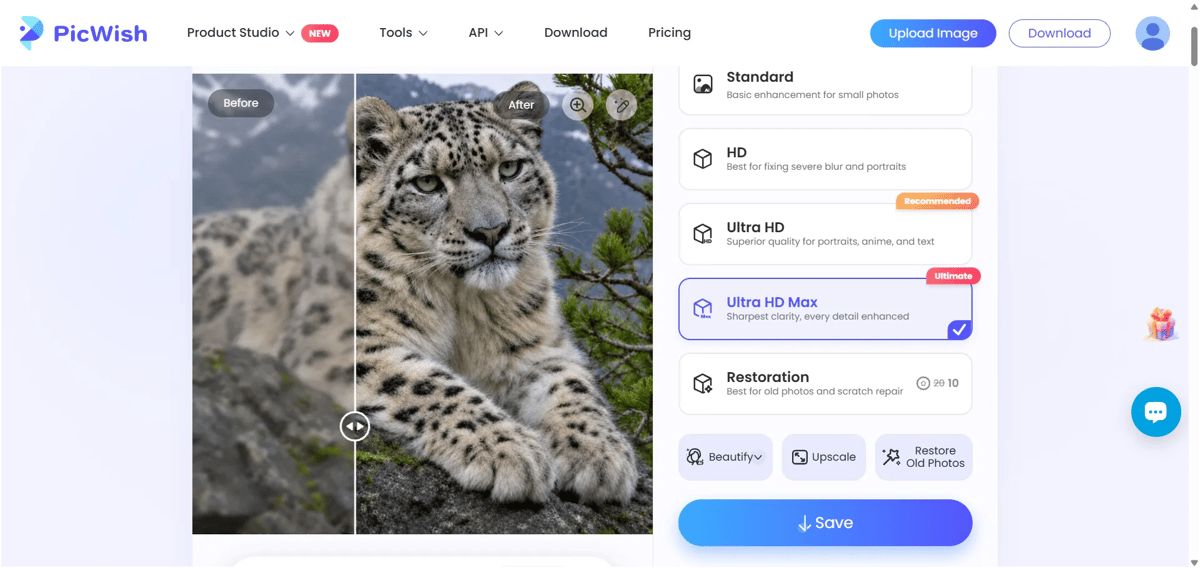
PicWish also let us start without logging in. It offers several enhancement levels: Standard, HD, Ultra HD and Ultra HD Max. We could use Standard without an account, but we had to sign up to try HD. During our test, we could try each option once for free.
We tried them one by one. HD improved the image clearly. Ultra HD also gave a good result, though some parts lost detail. Ultra HD Max enhanced the image in a few seconds, and this is the output we compared with the other tools. It was 3.1 MB at 1264 × 1264 pixels, almost the same size as our original.
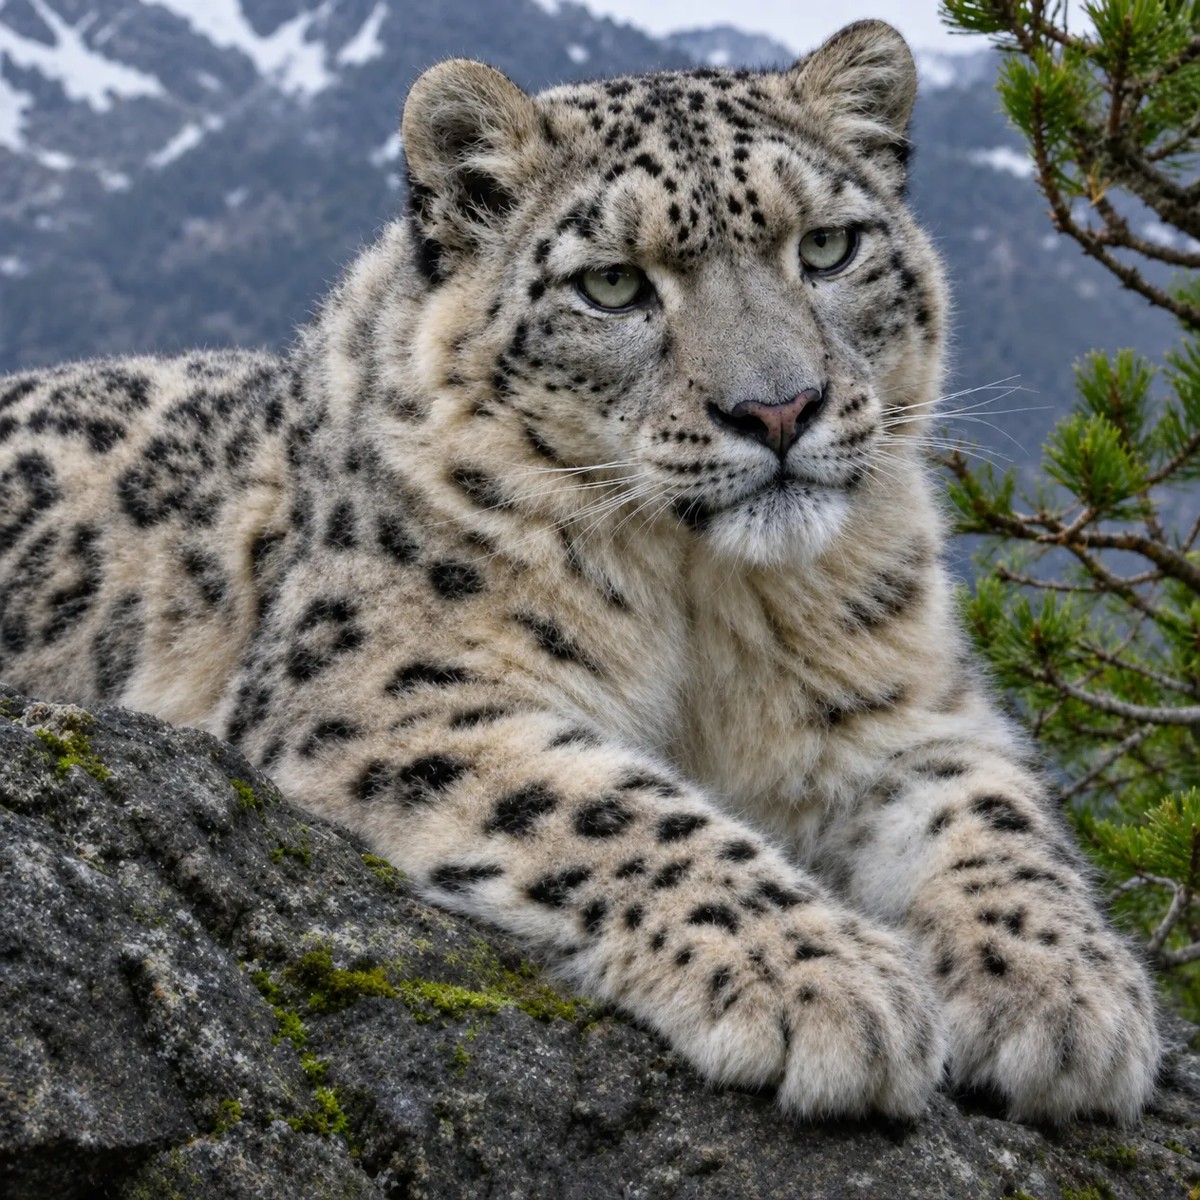
The Ultra HD Max result was one of the sharpest in our test, on par with Gemini. Every hair, spot and whisker stood out.
But it also changed our image the most:
- Lighting: the whole image became about 12% darker, with strong contrast that gives it an HDR look.
- Fur texture: it looked gritty and over-sharpened.
- Spots: many extra speckles appeared on the face.
- Background: the mountains got lots of new snow and tree detail.
- Eyes: the pupils became slit-shaped too.
PicWish pros and cons
Pros | Cons |
|---|---|
No login needed for the Standard option | Sign-up needed to try HD |
Several enhancement levels to choose from | Ultra HD Max made the image much darker |
Each option free to try once | Over-sharpened, gritty fur |
Very fast: done in a few seconds | Invented extra spots and background detail |
Our tip: start with HD, which gave a clear result without heavy changes. Use Ultra HD Max only if you want a dramatic, high-contrast look.
5. ChatGPT
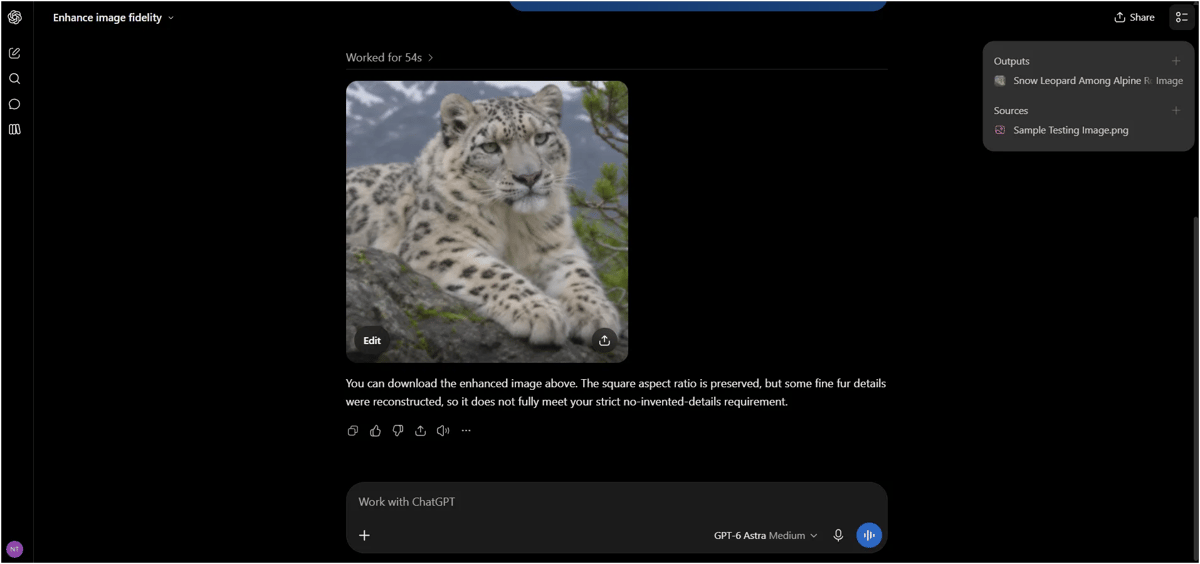
ChatGPT can generate and edit images, remove backgrounds in one click and enhance images with a text prompt. If you're new to it, start with our guide on what ChatGPT is.
We uploaded our sample with the same prompt. ChatGPT worked for 54 seconds and returned a 1.97 MB image at the original 1254 × 1254 size. So it enhanced the image but did not upscale it.
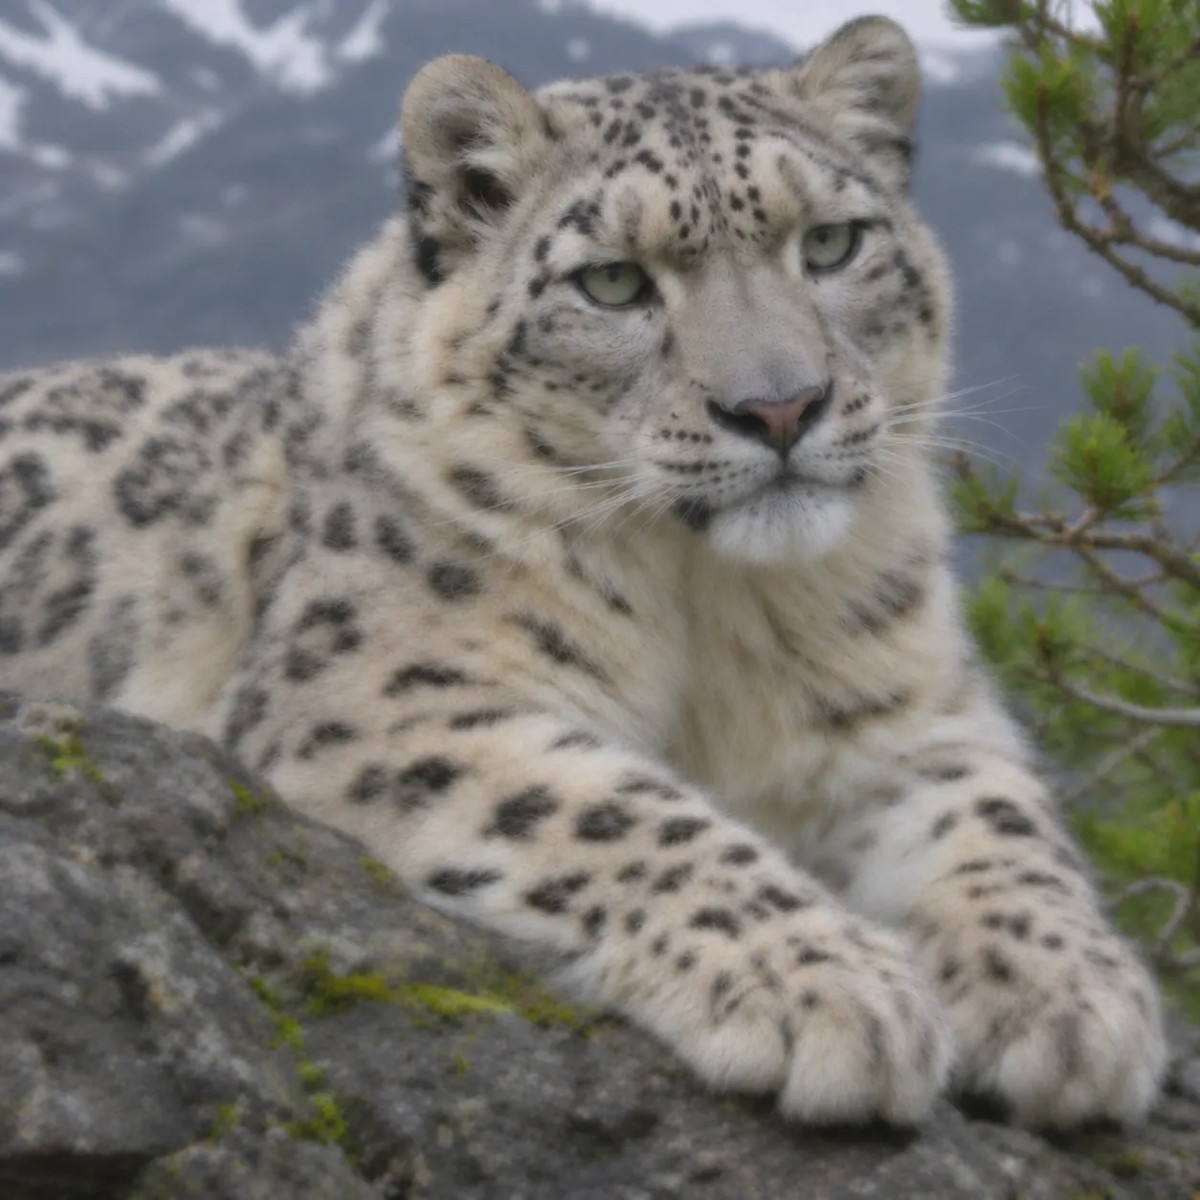
The result was clearer than our original. The eyes, nose and face spots were easier to see, and the image no longer looked badly out of focus. ChatGPT also kept the colours, lighting, background and framing almost exactly the same.
But the improvement was light. The fur on the body and paws still looked soft, the background stayed hazy, and the rock had little texture. It looked like a slightly cleaner version of our blurry photo, not a sharp one.
ChatGPT was honest about this. It told us some fine fur details were reconstructed, so the output "does not fully meet" our no-invented-details rule.
ChatGPT pros and cons
Pros | Cons |
|---|---|
Kept the original look best | Only a small improvement in clarity |
Kept colours, lighting and background the same | Fur, background and rock stayed soft |
No visible mistakes or unnatural details | Did not upscale the image |
Honest about what it reconstructed | Free plan has limited image use |
Our tip: use ChatGPT when keeping the original look matters more than sharpness.
Pricing Comparison
Most of these tools have a free option, so you can test them before you pay.
Tool | Free plan | Paid plans (per month) |
|---|---|---|
Gemini | Limited image use | Google AI Plus $7.99, AI Pro $19.99, AI Ultra from $99.99 |
Manus | 300 credits every day | Pro from $20 (4,000 credits), $40 (8,000 credits) and $200 (40,000 credits) |
EzEnhancer AI | 10 free credits, no sign-up (4 credits per image with EModel V1) | Monthly subscriptions with credits that roll over (up to a limit), plus one-time credit packs. [Add prices] |
PicWish | Standard without login; each option free to try once after sign-up | Pro: 450 credits a month. Max: 2,000 credits a month. Pay-as-you-go credits that never expire. [Add prices] |
ChatGPT | Limited image use | Plus $20, Pro from $100. A lower-cost Go plan is available, with prices that vary by country |
Prices are in US dollars and may change. For a full breakdown of what each ChatGPT plan includes, see our guide to ChatGPT pricing plans.
Conclusion
After testing five tools on the same blurry photo, Gemini is our pick for the best AI photo enhancer. It was one of the sharpest, upscaled the image and stayed closest to our original. Just crop out the watermark.
- Choose Gemini for the best balance of clarity and accuracy.
- Choose Manus at 2K for a quick one-click upscale. Skip its 4K and 8K settings.
- Choose EzEnhancer AI for a free, watermark-free result with no prompt, but check the face closely.
- Choose PicWish for fast results with several quality levels. Start with HD, as Ultra HD Max gives a darker, dramatic look.
- Choose ChatGPT when you can't risk any changes to your image.
Our test also showed that AI always guesses some details. That was true whether we used a strict prompt or just dropped in the image. Every tool changed something. So before you publish an enhanced image, zoom in on the eyes, colours and small textures, and compare it with your original.
Because enhancers redraw parts of an image, the result may count as AI-edited. To check whether an image has been changed by AI, try one of the best AI image detectors. For other quick edits, see our picks for the best AI background remover tools. And if you also make video content, check out the best AI video generators.
FAQ
1. What is the best photo enhancer?
In our test of five tools, Gemini was the best AI photo enhancer. It made our blurry image much sharper in a few seconds and stayed closest to our original. EzEnhancer AI and PicWish were just as sharp but changed more details.
2. How do I enhance photo quality with AI?
Upload your image to an AI photo enhancer. Dedicated tools like EzEnhancer AI and PicWish work with just the image. With AI assistants like Gemini or ChatGPT, add a prompt that tells them to reduce blur while keeping the colours, lighting and details the same. Then zoom in and compare the result with your original.
3. Do I need a prompt to enhance a photo?
Not always. Dedicated enhancers like EzEnhancer AI, PicWish and Manus's built-in upscaler only need the image. AI assistants like Gemini and ChatGPT work best with a clear prompt that says what to keep unchanged.
4. Are image upscaling and image enhancement the same?
No. Upscaling makes an image bigger. Enhancement makes it clearer. Manus's 8K setting made our image much bigger but not much clearer.
5. Does a higher resolution mean better quality?
Not always. Manus's 8K output was 83.8 MB but almost as blurry as our 1.7 MB original. Its 2K output looked much better.
6. Can AI recover details from a very blurry photo?
Not exactly. AI tools guess the missing details. That's why Manus gave our leopard cat-like pupils and Gemini added freckles on the nose.
7. Are these AI image enhancers free?
Yes, all five have free options with limits. EzEnhancer AI gives 10 free credits without sign-up, and PicWish lets you try each option once. Manus gives 300 free credits a day, and ChatGPT and Gemini allow limited image use for free.